NEW AT SU - Sweet Strawberry with Berry Delightful DSP

Welcome to our NEW AT SU! Blog Hop! We are a group of Stampin' Up! demonstrators from around the world who are Hoppin’ with creative paper crafting ideas to share with you. Today we are showcasing products from the first 2021 Sale-A-Bration Brochure. I wanted to show you how to use some of these new products to make a sweet little buckle birthday card.

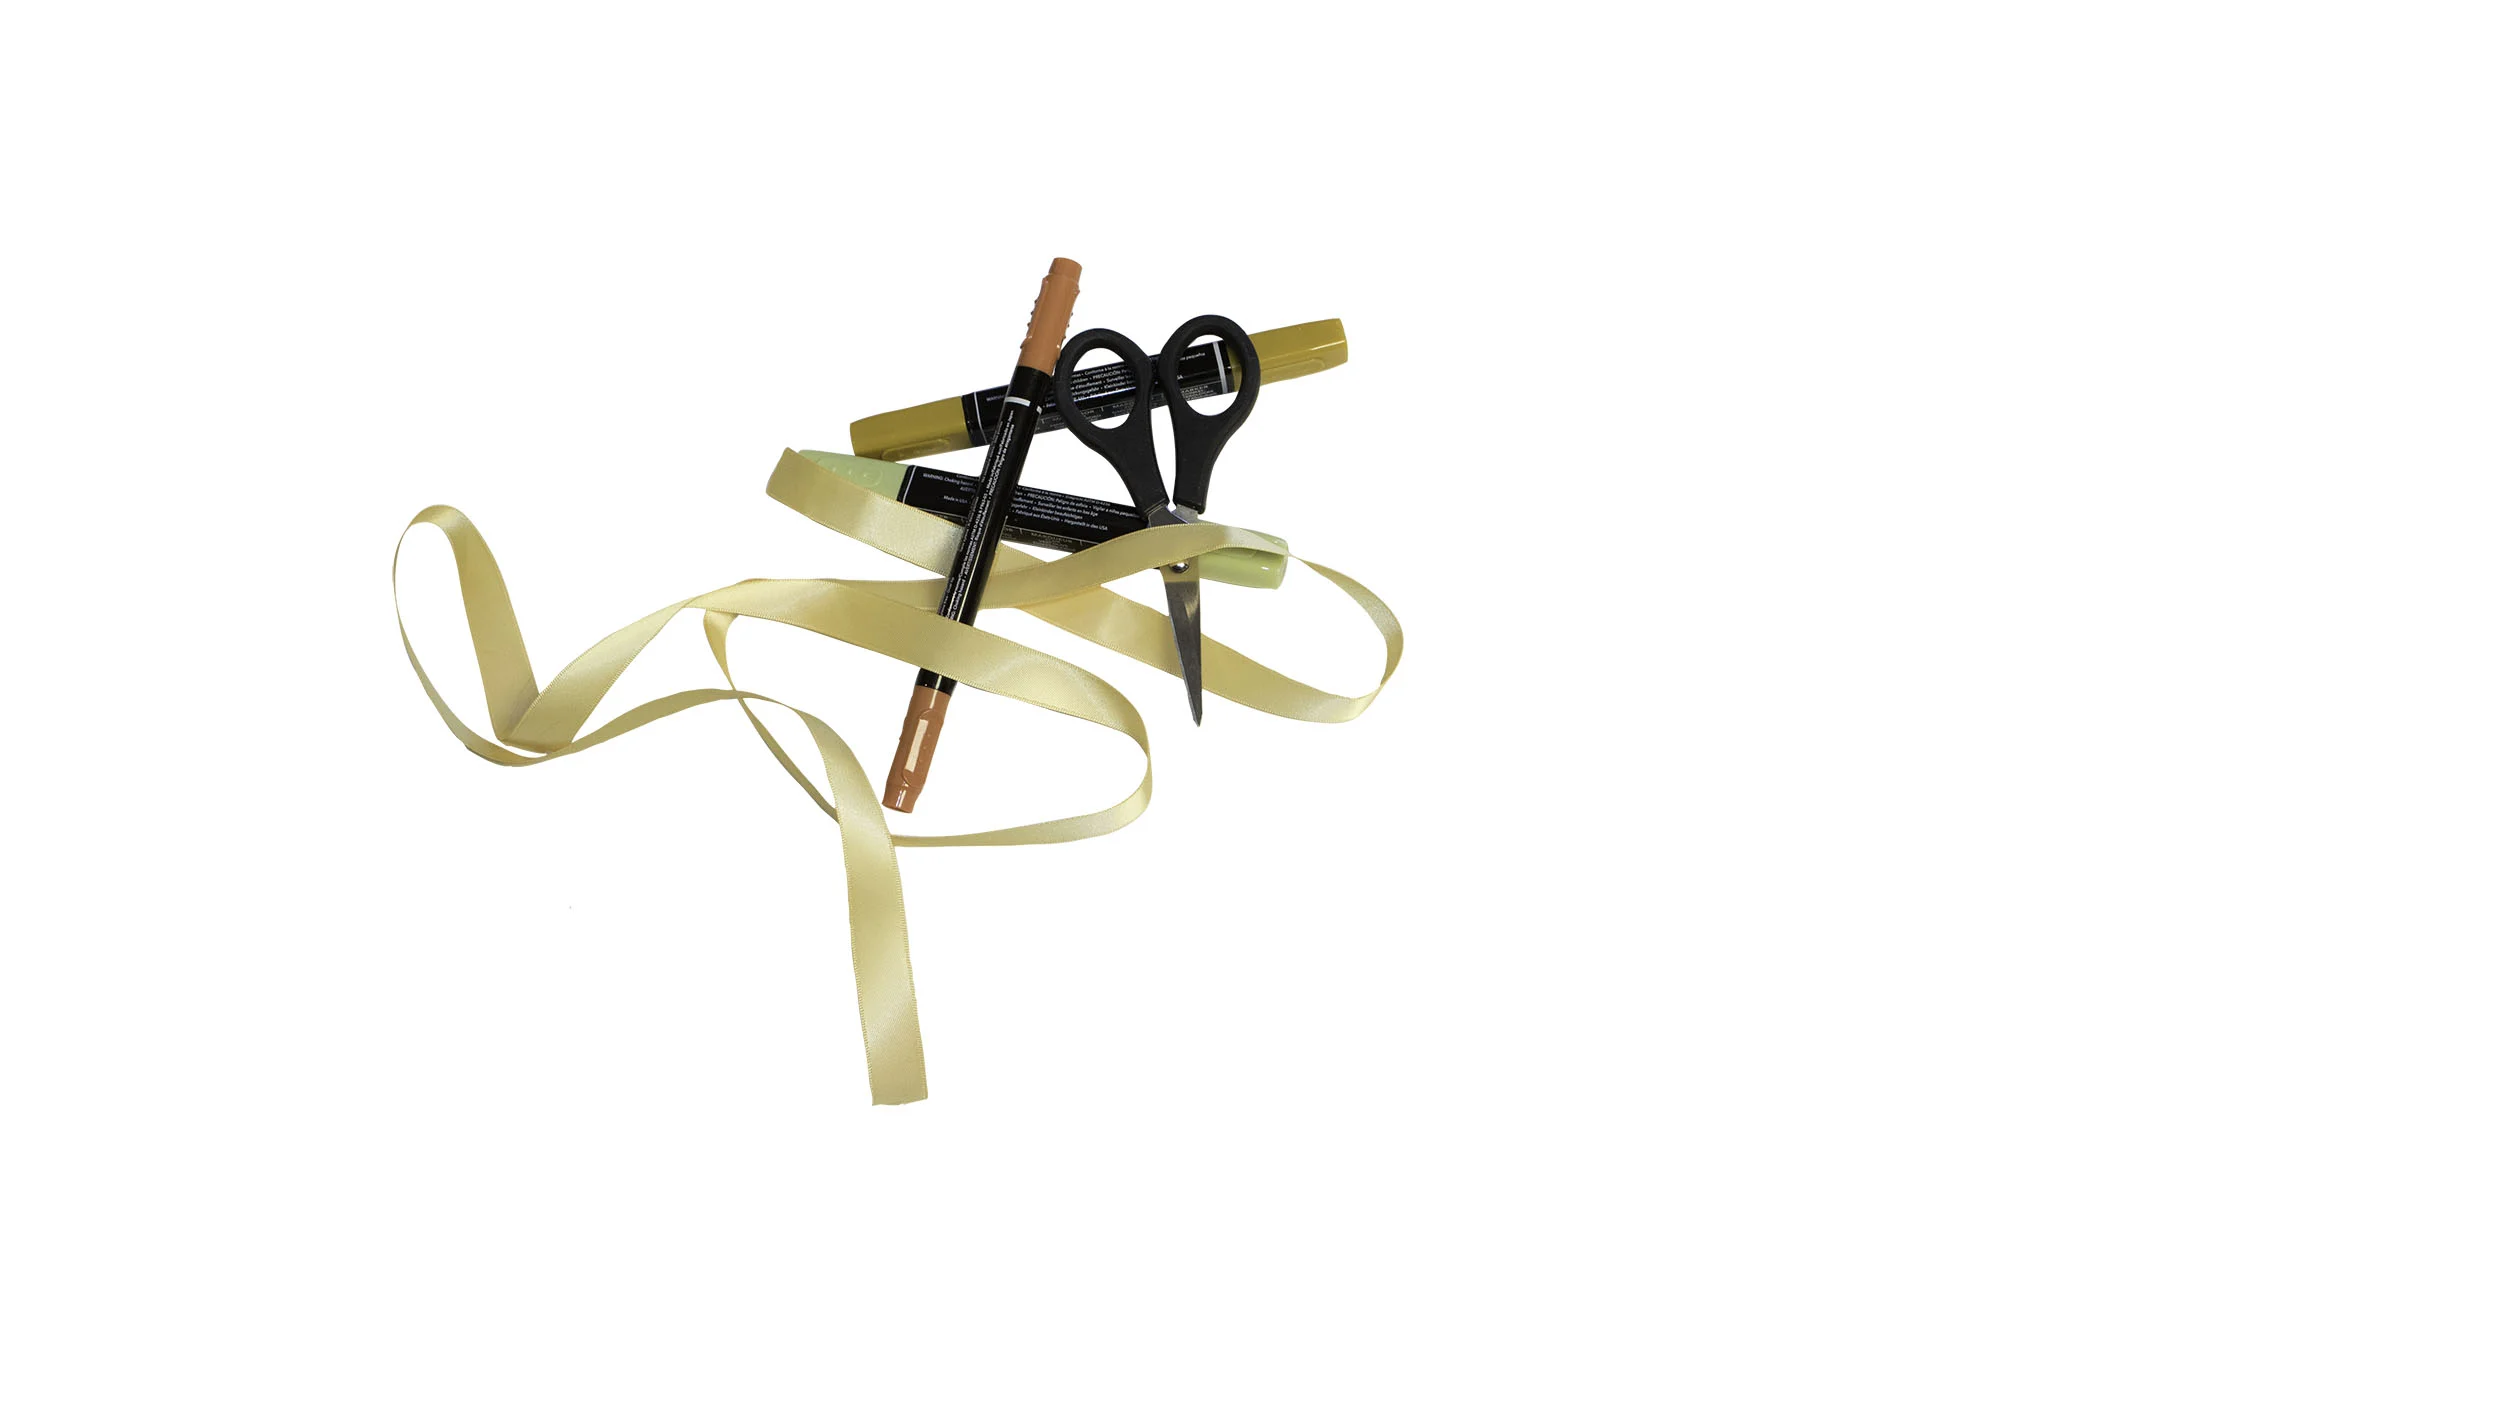
WHAT YOU NEED
Card base of Poppy Parade cardstock, cut at 4-¼” x 8-¾”, scored at 5-½”(119793)
Basic white Cardstock : 1 layer of 3-¼” x 4-½”, 2 layers of 2-¾” x 4” (159276)
Daffodil Delight layer 3” x 8-½”, scored at 4-¼” + 3” x 4” (119683)
Berry Delightful Designer Series Paper cut at 2-¾” x 3-¾” and a strip of 4 x 1-½” (for the strawberries) (157614) - also includes the Berry Blessings Stamp Set.
Approximately 18 inches of Daffodil Delight Ruched Ribbon (151311)
Sweet Strawberry Bundle (156214) includes Sweet Strawberry Stamp Set and Strawberry Builder Punch.
Happy Thoughts Stamp Set (154507)
Classic Label Punch (141491)
Poppy Parade Classic Inkpad (147050)
Garden Green Classic Inkpad (102584)
Granny Apple Green Classic Inkpad (147095)

")


 Ruched Ribbon")
Happy thoughts Stamp set can be replaced by the greetings of your choice, such as Berry Blessings Stamp Set, included in the FREE bundle with the Berry Delightful DSP.
STEP BY STEP INSTRUCTIONS
Fold your card base. On the short panel, to the left, adhere the layer of Daffodil Delight cardstock and the layer of DSP with the strawberry texture design.
Take the Classic Label punch, push it as far as it will go and line it up with the Daffodil Delight layer. Punch. Repeat the operation with the bottom Daffodil Delight layer and punch again. You now have your space to insert the buckle.
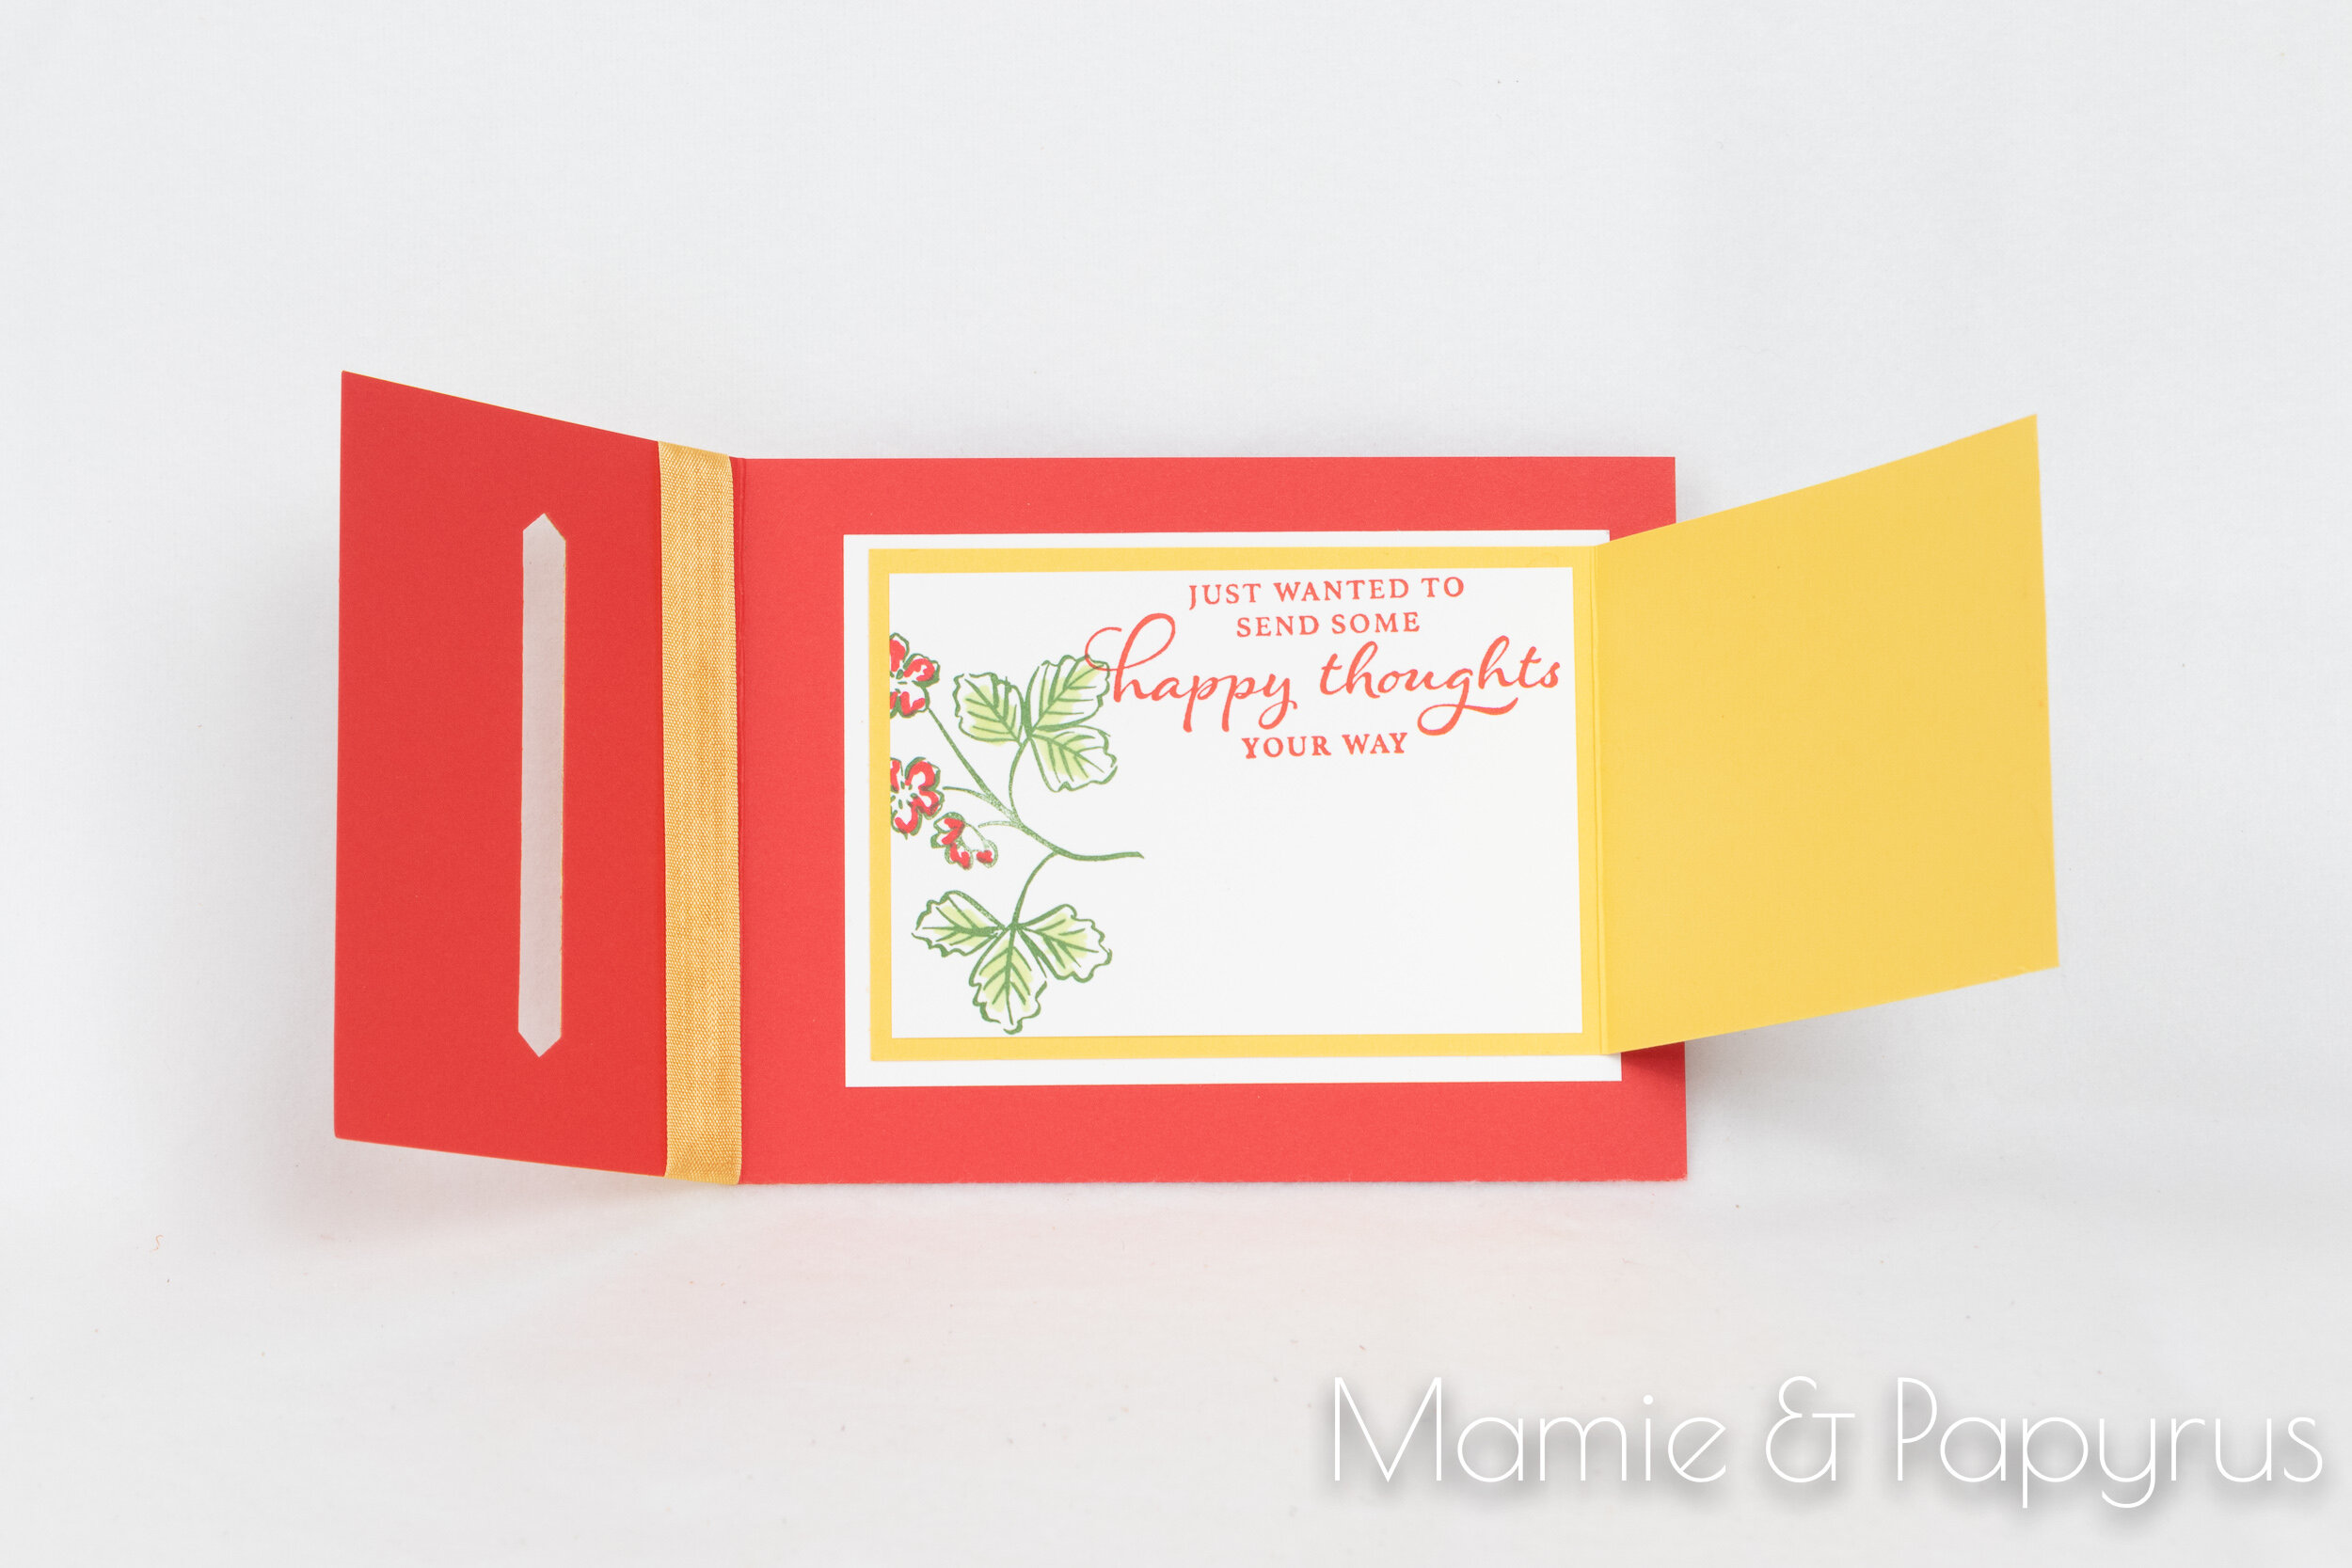
Work the inside. Adhere the Daffodil Delight folded layer to the Basic white piece. Remember the fold of the Daffodil Delight will be to the right, which seems counter-intuitive.
Decorate your white layers. Stamp your greeting on the bottom left of the top layer. Use the two-step stamping technique to create texture in your leaves and strawberries. Make sure you leave some white on the left side because you will be inserting this part into the buckle.
Punch out two strawberries from the DSP (same poppy parade and yellow pattern). Punch out two stems. Adhere the stems to the DSP and use Stampin Dimensionals to adhere to the top of your card.
Time to put it all together. Add the white stamped layers to the Daffodil Delight - remember - right side fold. Add the completed piece to the card base, leaving equal space on both sides.
Add the Daffodil Delight ribbon to the left panel and tie a pretty bow.
A few tips when you make this card …

The buckle opening is wider than the punch, so alignment is important. Make sure you push the punch as far as it will go. Line it up to the yellow layer and punch. Move to the other side and punch.
Stamp to the right of the white layer, because the left side will be inserted in the buckle.


Don’t forget your fold is on the right side because this will be inserted to the buckle.
Almost there… Before you stick it down, line it up with the opening, to ensure that you are far enough to slip it through.


Tie the Daffodil Delight ribbon around the base of the card and tie it in a pretty bow.

The following talented people are participating in our blog hop. Check out all their beautiful projects they created to share with all of you!
Creative Juice by Loni: Darling Donkeys
Tricia’s Stamping Creations: Approaching Perfection
Stamping Flair: Darling Donkeys
Chase & Main: A Touch of Ink
Sugar & Scraps: A Touch of Ink
Moore Fun Stamping: Oh So Ombre DSP
Gifted Hands, Ink!: Berry Blessings
As the Ink Dries: Berry Blessings
Stampin’ Scrapper: Berry Blessings
De Kijkkast: Corner Bouquet
Mamie & Papyrus: Berry Delightful DSP YOU ARE HERE!
24/7 Inkspiration: Flower & Field DSP
Stamping with the Copper Cropper: Darling Donkeys
Playing with Papercrafting: A Touch of Ink
Carterie Plus: Berry Blessings
StampinMak: Heal Your Heart
Lilypad Stamper: Paper Blooms DSP & Heal Your Heart