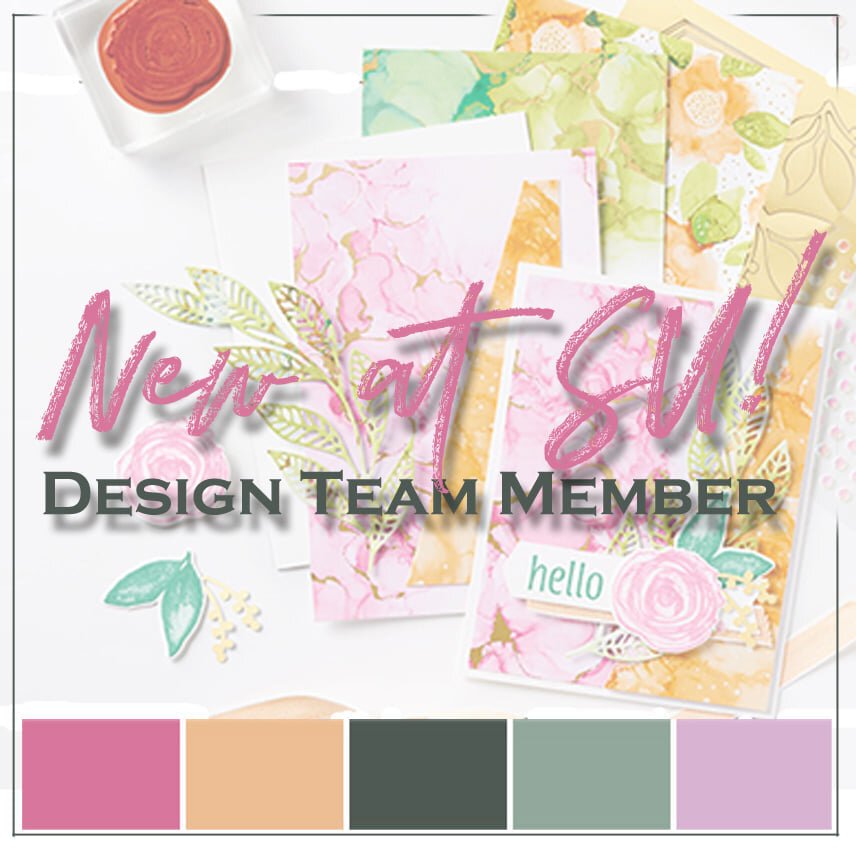
NEW AT SU - Art Gallery
Welcome to our NEW AT SU! Blog Hop! We are a group of Stampin' Up! demonstrators from around the world who are Hoppin’ with creative paper crafting ideas to share with you. Today, we are showcasing the new In Color 2021-2023 as well as a fancy fold card.
WHAT YOU NEED
Art Gallery Stamp Set 158201
Bundles with Floral Gallery Dies 156227
Soft Succulent Cardstock 155776
1 layer for inside at 5-1/4 x 4
2 layers 5-1/4 x 1-7/8”
Die-cut words from a scrap piece (or from the inside layer, making sure you leave at least 1/4 inch all around.
Pale Papaya Cardstock 155668
Base 8-1/2 x 5-1/2 scored at 2-1/8 and 6-3/8”
Very Vanilla Cardstock 101650
1 layer 3-3/4 x 5”
2 layers 1-5/8 x 5”
Vellum 101856 for belly band 2-1/2” by 11”
In Color 2021-2023 Markers 155639
Pale Papaya Ink Pad 155670
Soft Succulent Ink Pad 155778
Multipurpose Glue 110755
The Art Gallery Stamp set has a great collection of greetings that makes it perfect for many occasions. it is bundled with coordinating dies, including the words I used on the belly band.
STEP BY STEP INSTRUCTIONS
Fold your card base. Fold the second part so that they match in the centre before you press with your bone folder.
Adhere the Soft succulent layers to the front and use the bigger piece to die-cut the words (nobody will ever know the layer was cut if you leave at least 1/4” all around). Then adhere to the inside of the card.
Stamp the greeting on the inside Very Vanilla layer. Then, colour the flower stamp with the markers… and huff on them before applying them to the cardstock. Stamp the leaves with the Soft Succulent Stamp pad on the two front panel layers. Then, use the full flower stamp and use the stamp-off method to first stamp the light shade of Pale Papaya. Then take the other flower stamp (the one with more detail) and stamp directly from stamp pad to paper, without stamping off. You will get two tones from the same stamp pad.
Adhere your stamped Very vanilla to the card panels and inside.
Take the Vellum piece and wrap it around the card to create a belly band. Adjust the size so it does not overlap too much. Use Multipurpose glue and a sponge to adhere the vellum flap, loose enough to slip on and off the card.
Adhere the words Just want to say onto the vellum belly band with Multipurpose glue.
Decorate your envelope
A FEW TIPS WHILE YOU MAKE THIS CARD…
I wanted to show you how to use the water-based markers to colour your stamps. This way, you discover the colours and then can select which stamp pads to purchase. Don’t forget to huff on it when you are done colouring, to reactivate the ink before you stamp.
I love the softness of these colours together. I used a two-step stamp and a stamp off technique to create the different tones to the flower.
I placed the seam of the vellum at the front since it will be covered by the words and will line up with the layers of the gatefold. This way, the belly band is nice and smooth at the back.
The vellum lets the person see the flowers in the background.
The following talented people are participating in our blog hop. Check out all their beautiful projects they created to share with all of you!
May 2021 New at SU!: In Colors & Fun Folds Blog Hop Roll
Tricia’s Stamping Creations: Simple Fun Fold
Scraphexe: Inside Pop Up
24/7 Inkspiration: Z-Fold
Mamie & Papyrus: Gate Fold You are here!
Stamping Flair: Double Fan Fold
De Kijkkast: Zig-Zag Tower
Stampin’ Scrapper: Triple Accordion Fold
Playing with Papercrafting: Corner Flip Fun Fold
Moore Fun Stamping: Pop Up Vase
Creative Juice by Loni: Vellum Slide-Out-Pocket
Stampin’ Xime: Square Flap Card
Lilypad Stamper: Z-Fold
CarterIe Plus: Double Gate Fold


