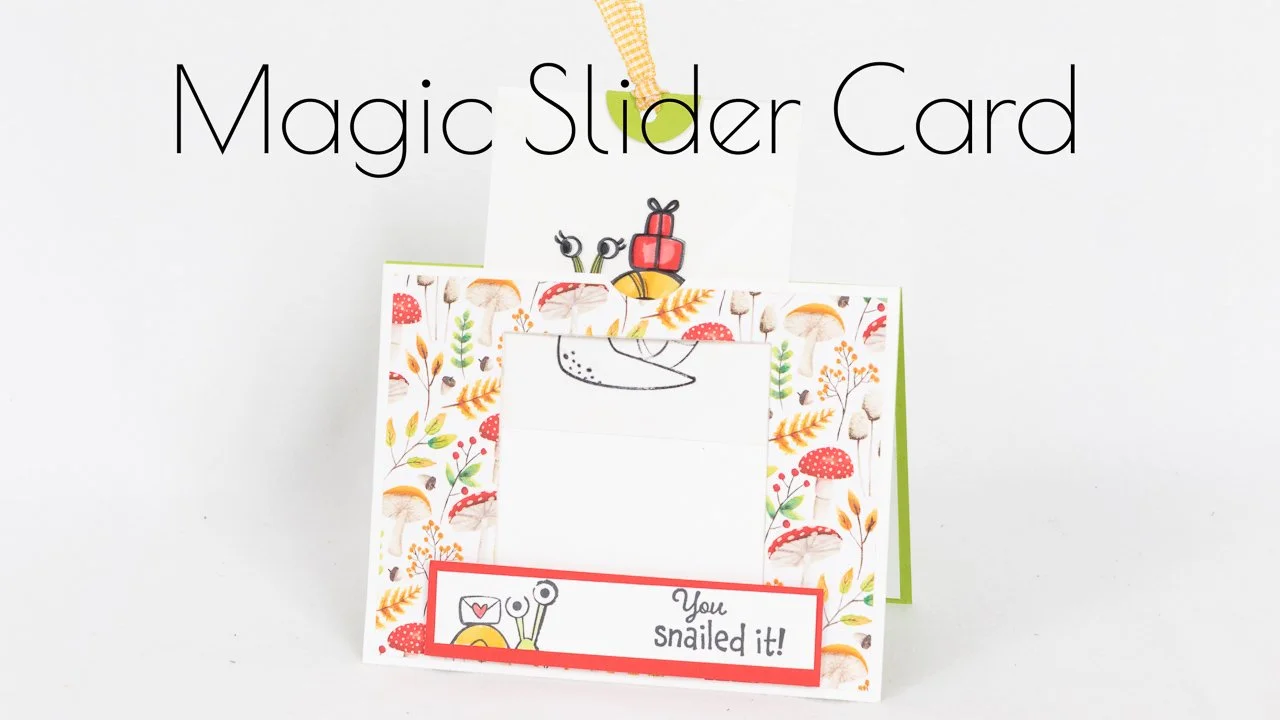
A MAGICAL CARD THAT WILL WOW THEM
Some cards are sweet, some are simple, some elegant… this one is magical! The video is longer than usual, because of the different steps, but it is not difficult at all to create. Just follow along and you too will have a magical card that will WOW the person who receives it.
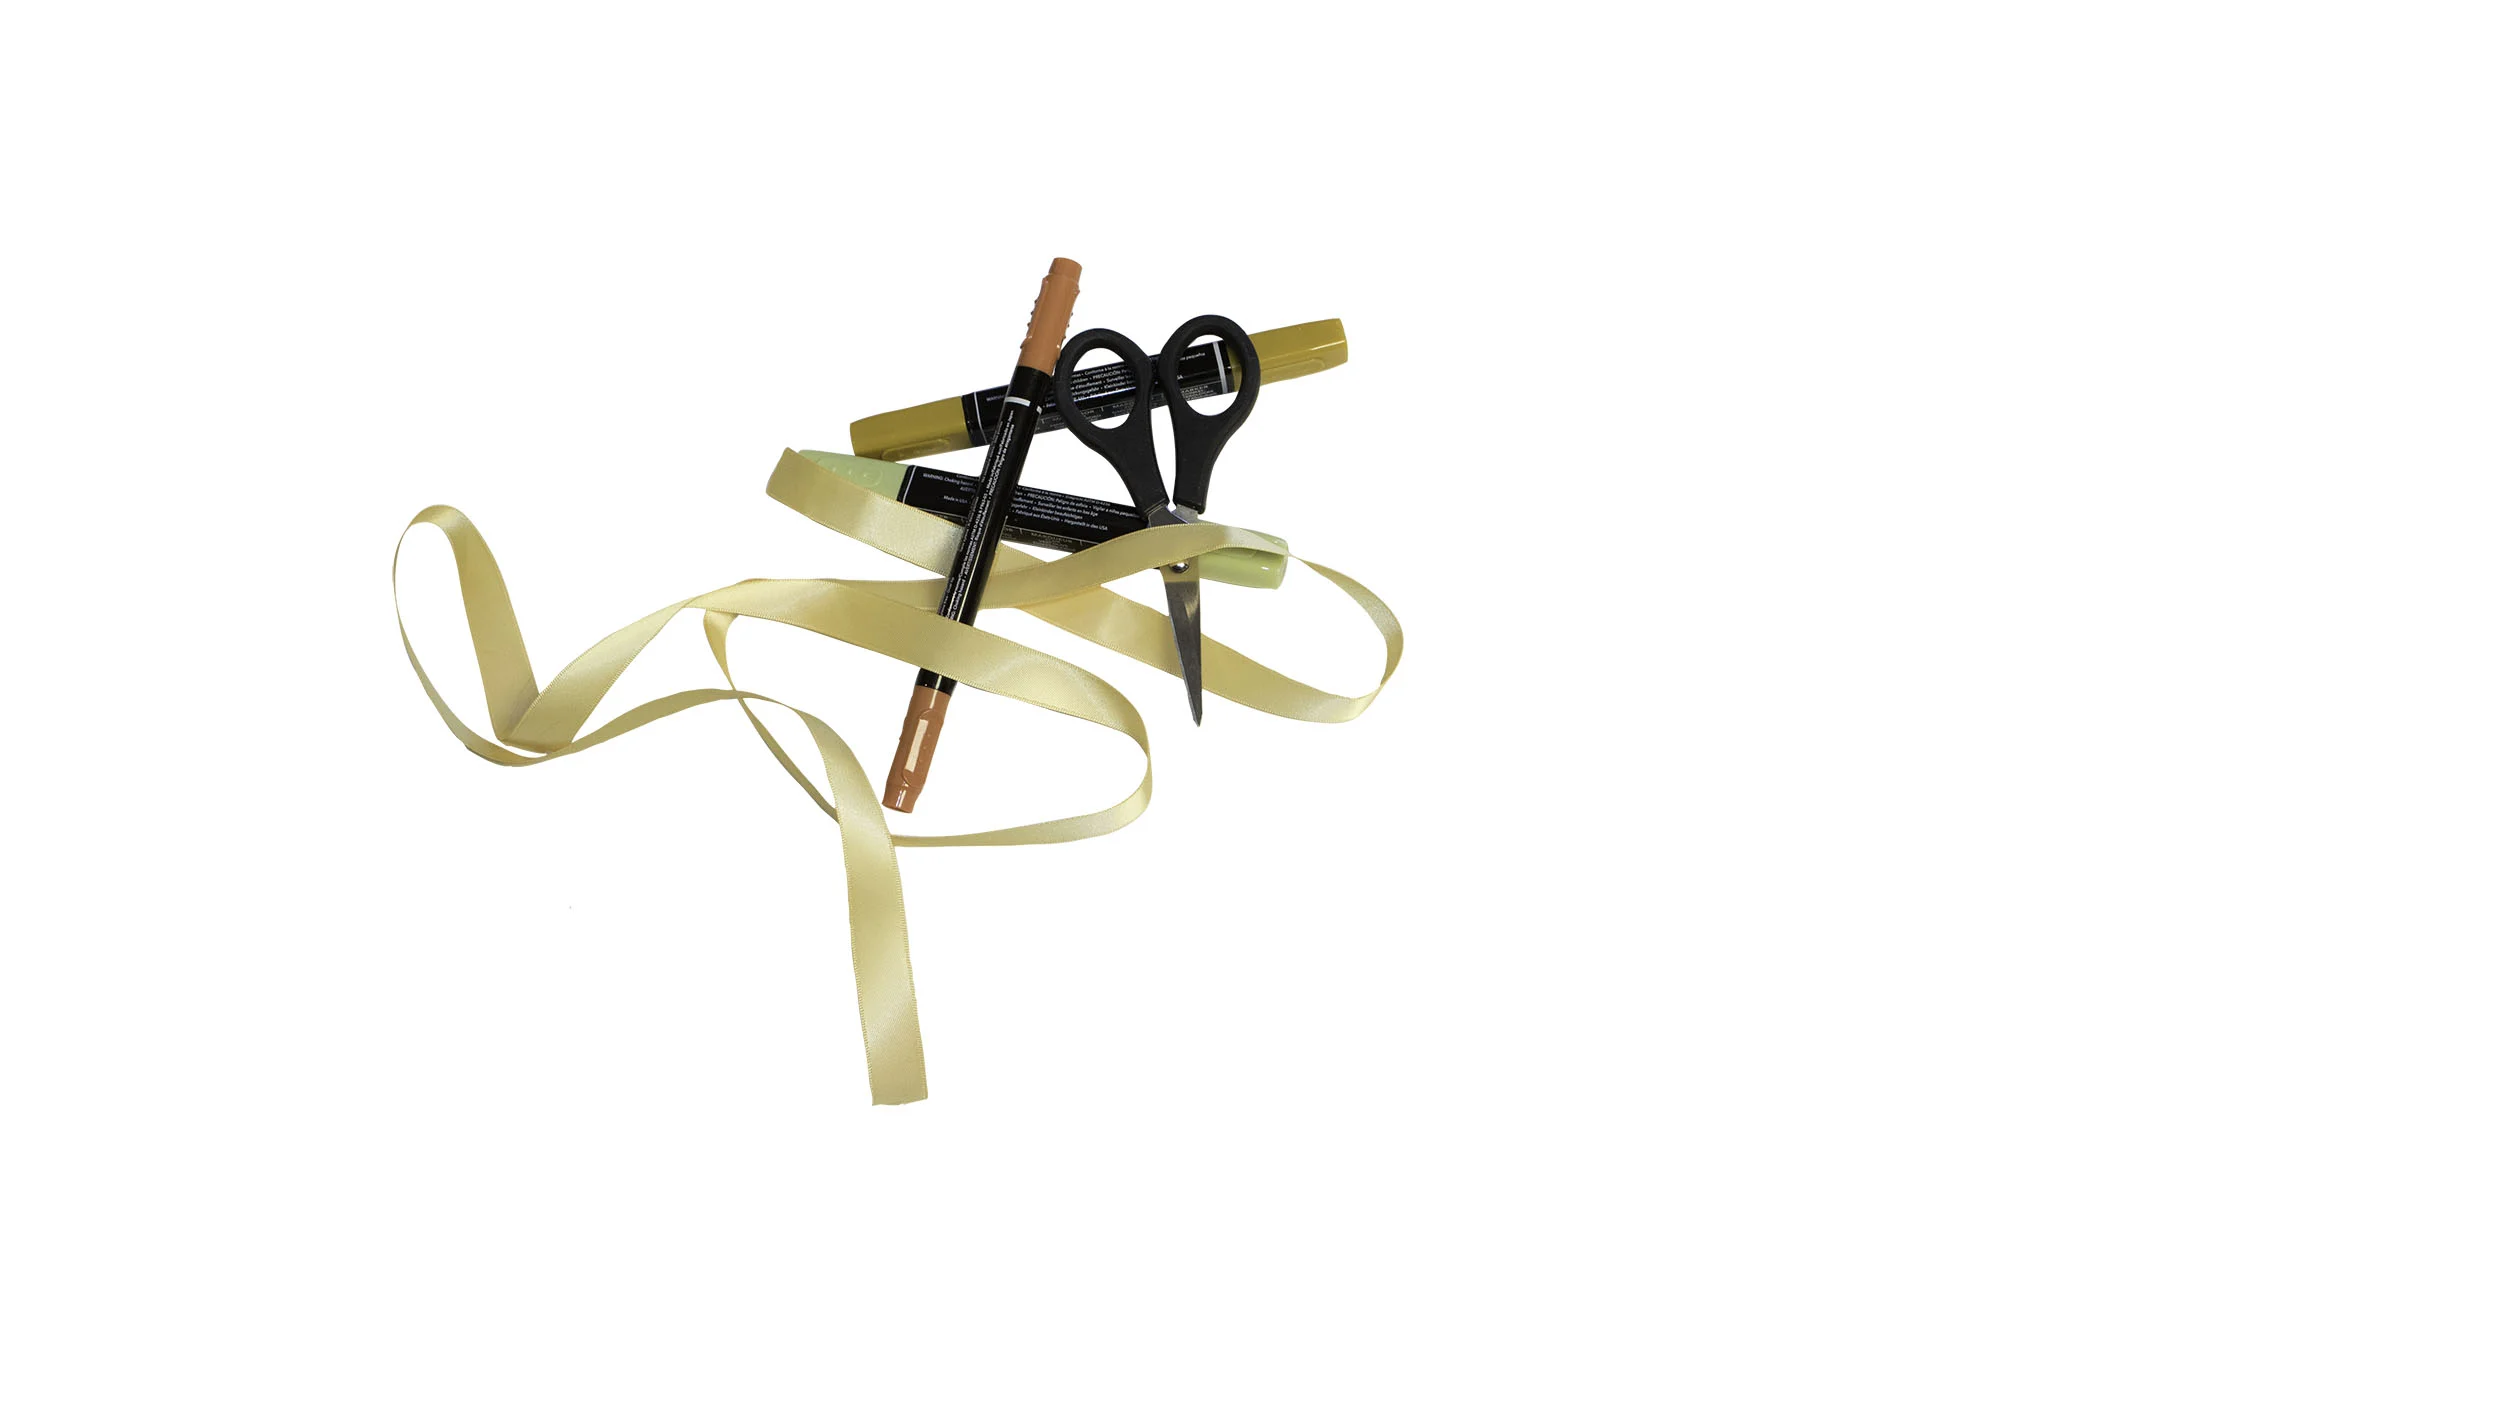
WHAT YOU NEED
Granny Apple Green (146990) 5-1/2 x 8-1/2” scored at 4-1/4”
Basic White for the inside, 5-1/4 x 4”
• Thick Basic White (159229) (Top base): 5 1/2" x 8 1/2”, score at 4 1/4"
• Thick Basic White (insert): 4” x 7”, score at 3 1/2"
• Thick Basic White (slider): 3 1/4" x 3 1/2"
• Window Sheet (slider): 3 1/4" x 3 1/2"
• Basic White (159276) (stopper): 1⁄2” x 4”
• Basic White (greeting): 1/2" x 2 1/4"
• Poppy Parade (119793) (greeting): 5/8” x 2 3/8”
• Bumblebee 1/4” Gingham Ribbon (153658) : 8”
Retired DSP (with mushroom) you can use any DSP of your choice that coordinates with the colours and
theme of your card cut 4” x 5-1/4”
Memento Ink (132708)
Stazon Ink (101406)
Stampin’ Blends : Poppy Parade (154958); Daffodil Delight (154883), Crumb Cake (154882) Granny Apple Green (154885)
Stamparatus (146276)
Glue dots (103683)
HOW TO :
Using the Stamparatus, start by stamping your image on the Basic White cardstock with Memento Ink. Then leave the stamp and repeat with Stazon on the window sheet.
Colour the image with Stampin’ Blends on the cardstock piece. Stamp another snail on the greeting and colour it. Stamp your greeting on the strip for the top of the card and on the inside. Adhere to the piece of Poppy Parade, set aside.
Then, using glue dots, adhere the window sheet to the cardstock, aligning the images.
Adhere the Designer Series Paper on the Basic white cardstock, leaving the opening on the top. Cut a 3” square on the top with a square die.
Fold the insert piece in half, and with a punch, create a slit on the top. Make sure the insert will slide properly in the opening. Fold a little circle to create the pull tab and punch a hole to insert the ribbon.
Position the mechanism inside the card base. Align the image through the cutout and place the box inside the top base. Place adhesive on the back of the box, then fold over the top base to ensure it does not move. Then you can turn it and finish placing adhesive on the sides (making sure the slider is not stuck).
Adhere the top base of the card (with insert) to the Granny Apple Green card base. Adhere your top greeting with Stampin’ Dimensionals. Finish the inside and adhere the greeting Basic white layer to the inside of the Granny Apple Green base.
Decorate your envelope.